03. Add A Remote Repository
The Git Remote Command
The git remote command will let you manage and interact with remote repositories.
$ git remoteTry running this command on a local repository that you haven't shared with anyone yet. What do you get?
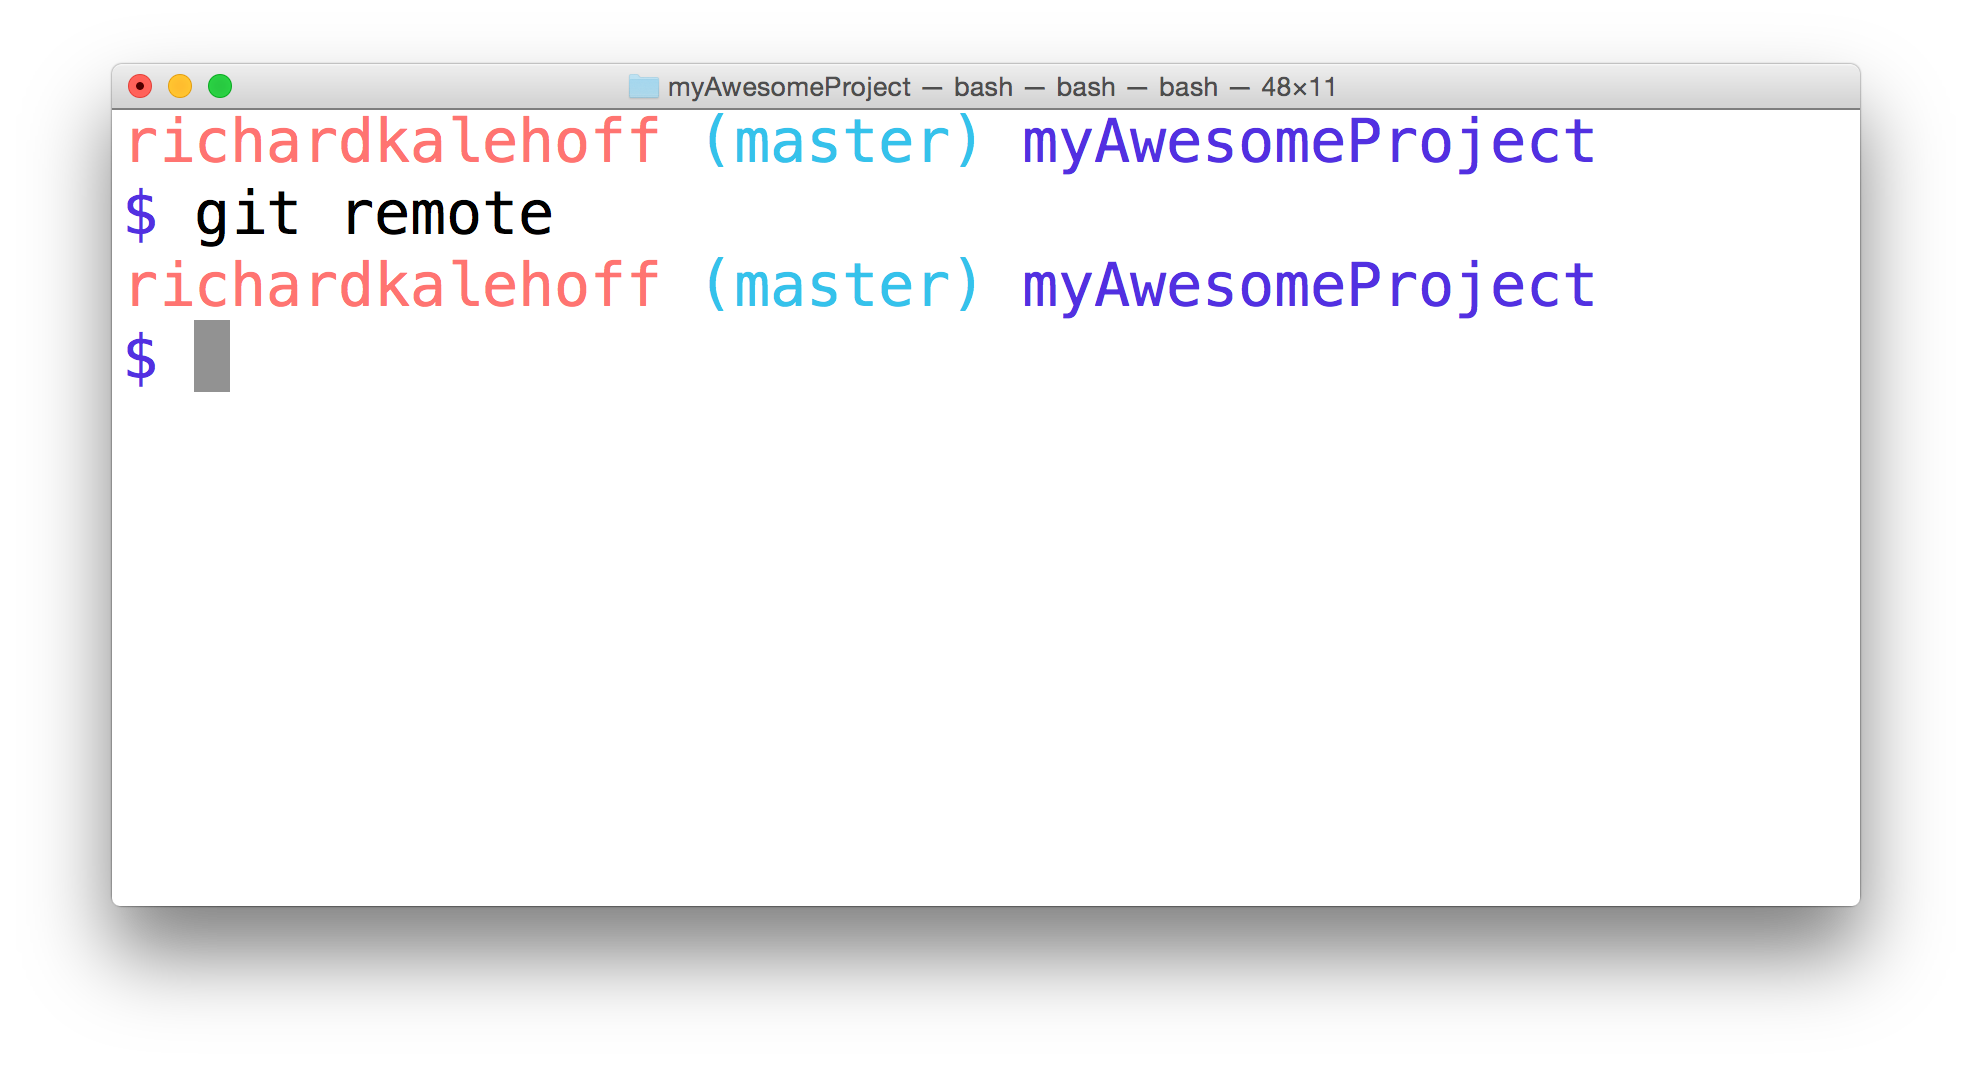
The Terminal application running the git remote command. No output is displayed since this repository does not have a connection to a remote.
If you haven't configured a remote repository then this command will display nothing. One caveat to this is if you have cloned a repository. If you have, then your repository will automatically have a remote because it was cloned from the repository at the URL you provided. Let's look at a repository that has been cloned.
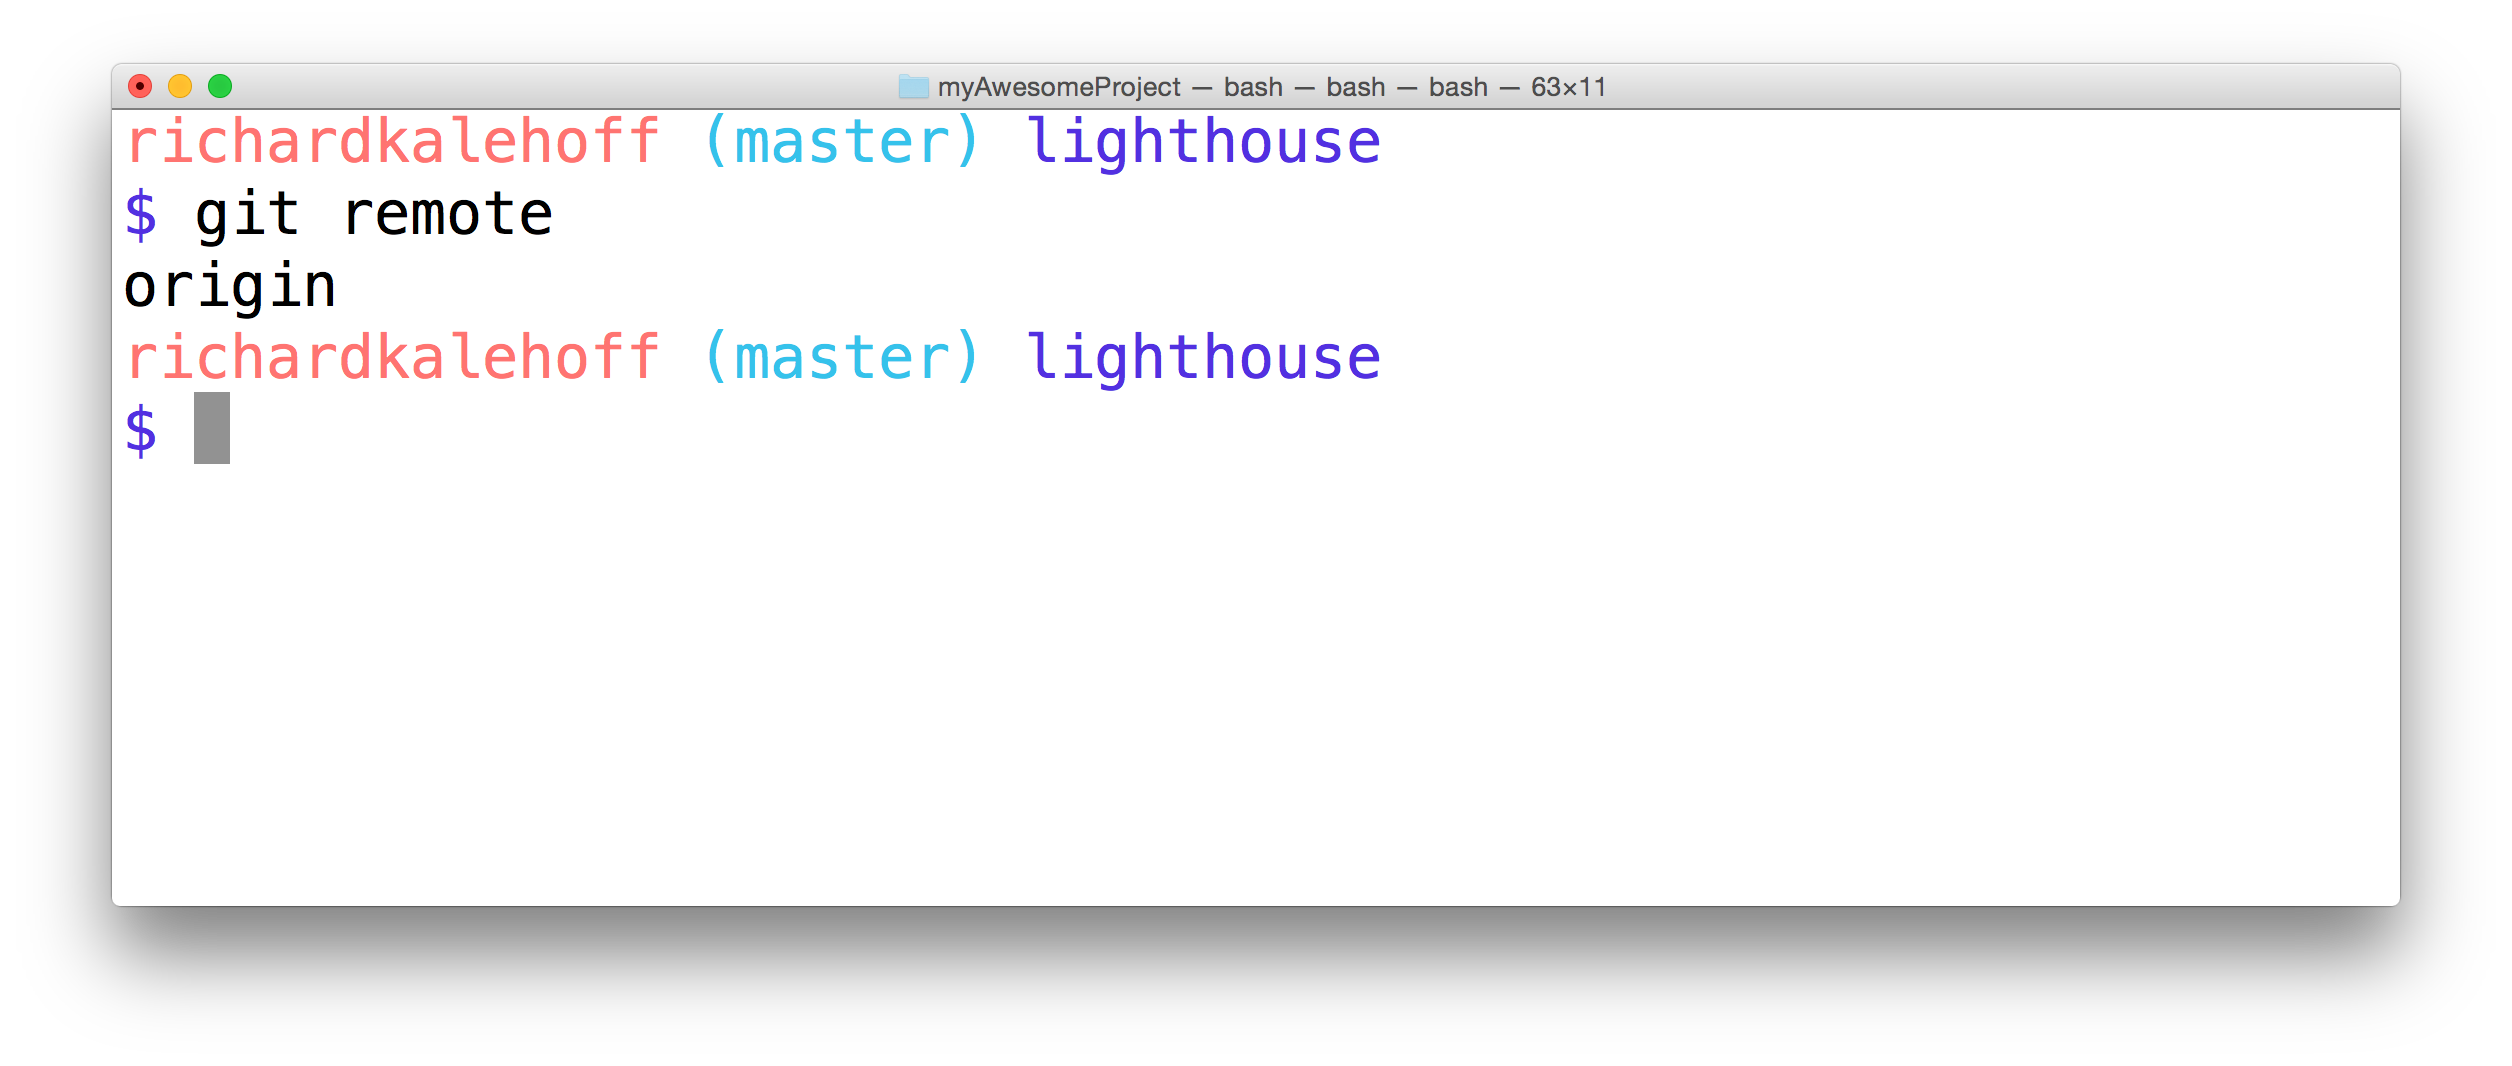
The Terminal application running the git remote command. It outputs the word origin.
The project I'm in is a clone of a Google's project called Lighthouse. This project was cloned from GitHub and is for auditing, performance metrics, and best practices for Progressive Web Apps.
Remote Shortnames
The output of git remote is just the word origin. Well that's weird. The word "origin", here, is referred to as a "shortname". A shortname is just a short and easy way to refer to the location of the remote repository. A shortname is local to the current repository (as in, your local repository). The word "origin" is the defacto name that's used to refer to the main remote repository. It's possible to rename this to something else, but typically it's left as "origin".
Why do we care about how easy it is to refer to a remote repositories location? Well as you'll soon find out we'll be needing the path to the remote repository in a lot of our commands. And it's a lot easier to use just a name rather than the entire path to the remote repository.
For example which one of these is easier to understand:
- Head north for about a quarter of a mile, then turn left, go straight down that road for about 5 miles, then turn right, proceed straight for about 300 feet until you past the blue mailbox, turn left down Jack Street, go 50 feet then turn left again on Owen Road, that will curve around until you hit Finn Lane. The structure that's the third one on the left
- Grandma's house
You can see that it's a lot easier to refer to a location by just a short name like Grandma's house rather than the entire way to get there from your current location 😉
If you want to see the full path to the remote repository, then all you have to do is use the -v flag:
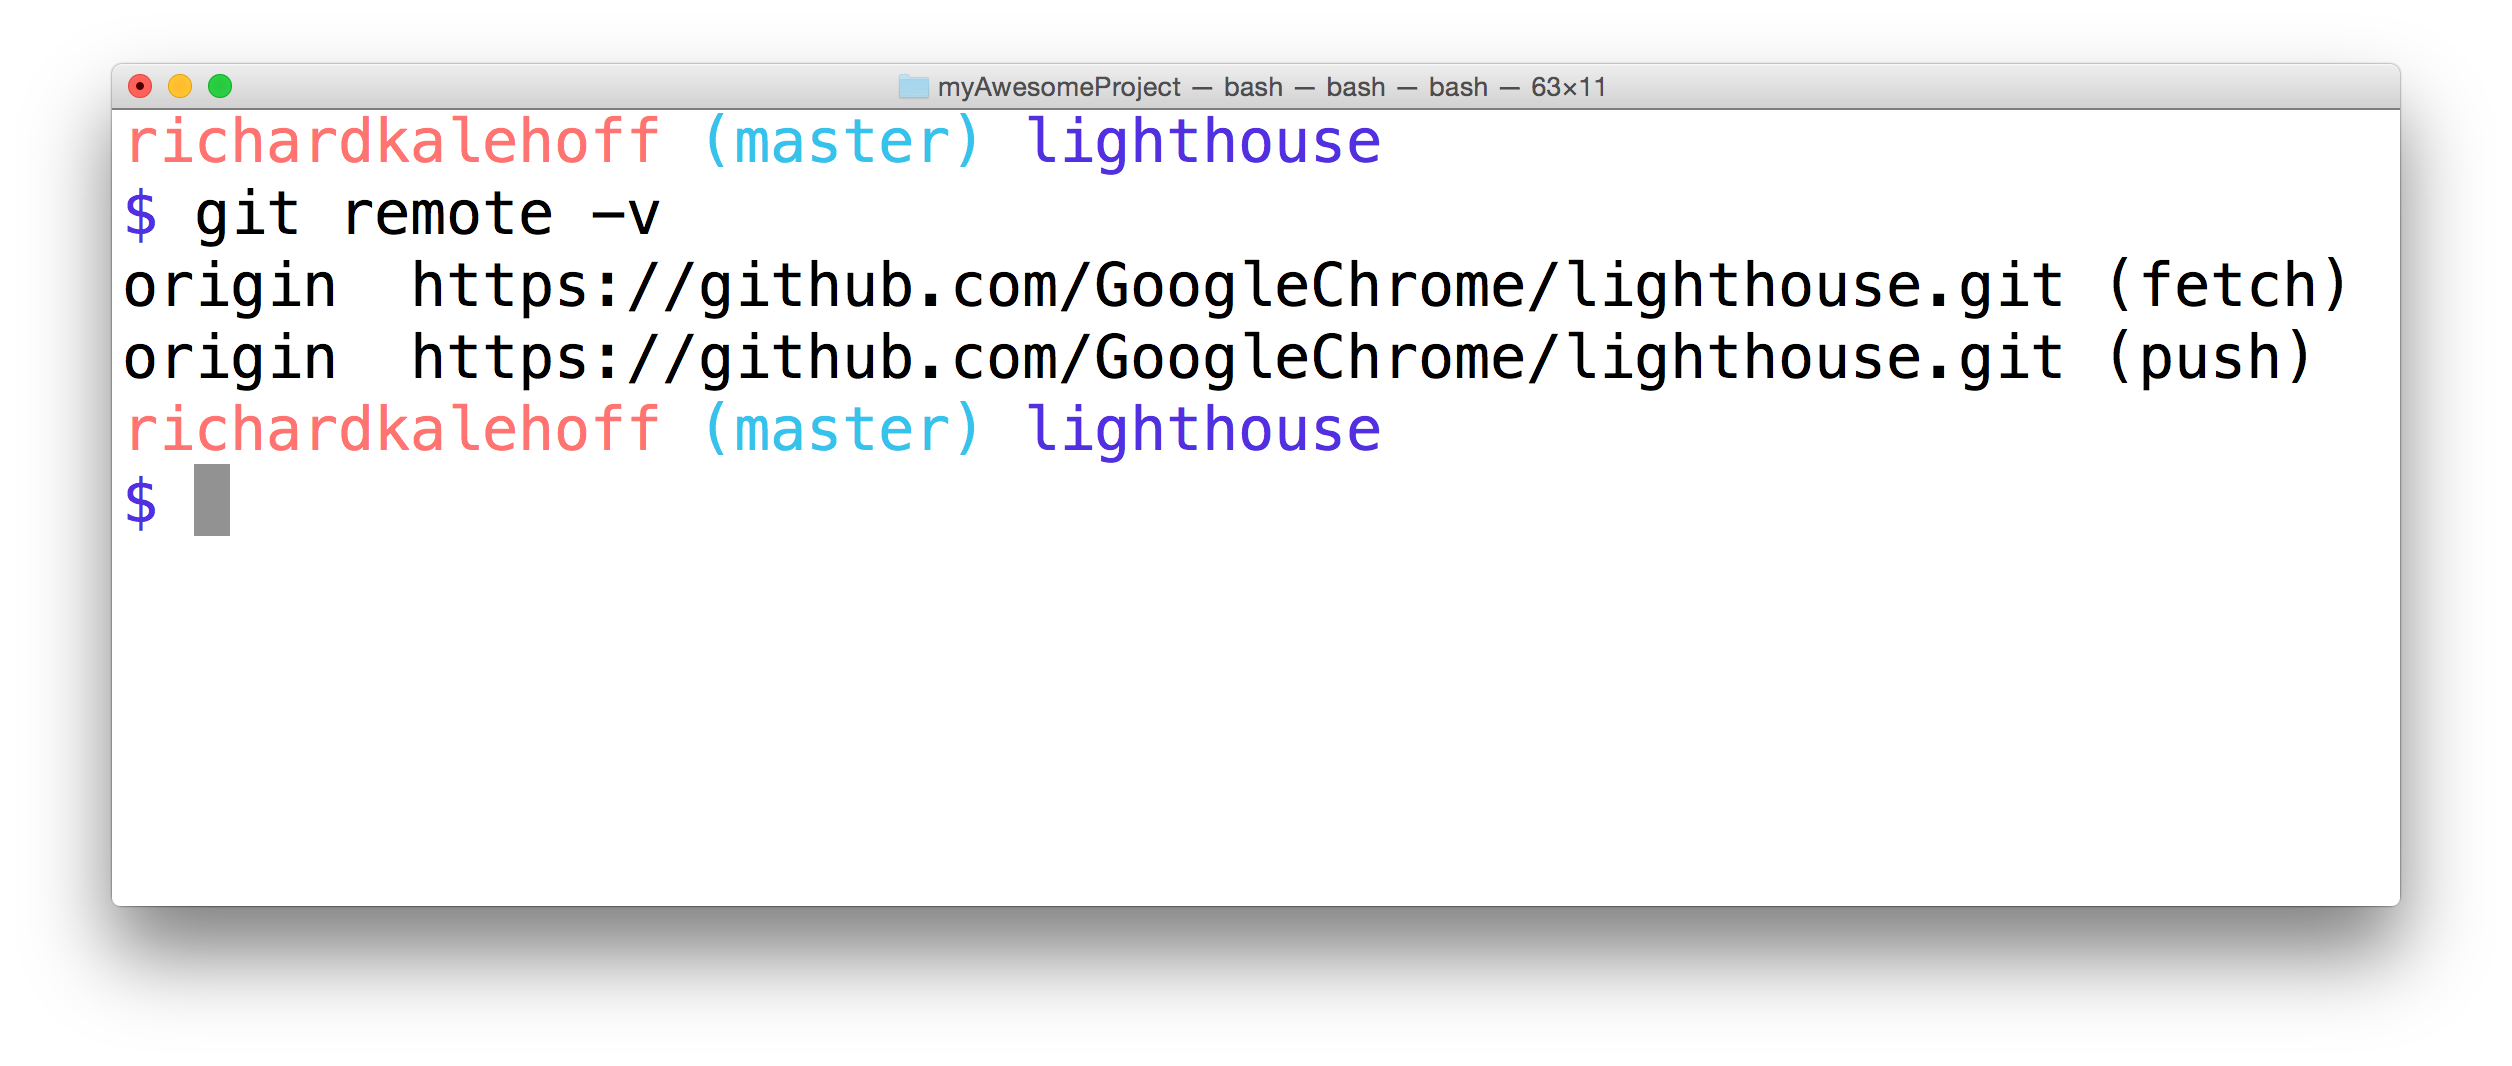
The Terminal application running the git remote command. The output includes the shortname and the full URL that it refers to.
Here you can see that if the word origin is used, what actually is used is the path to https://github.com/GoogleChrome/lighthouse.git . It also might seem a little bit odd that there are now two remotes both of them "origin" and both going to the same URL. The only difference is right at the end:
the (fetch) part and the (push) part
We'll be looking at both fetch and push in upcoming sections.
We've done enough looking for now. Let's do something active and create our own simple project and send it to a remote repository!
Create A Simple Project
We're going to need a sample project to use during this course to test out working with remote repositories, sending updates to the remote repository, and getting changes from the remote repository, too.
SOLUTION:
- create a new directory for your project with the name `my-travel-plans`
- use `git init` to turn the `my-travel-plans` directory into a Git repository
- create a `README.md` file
- create `index.html`
- create `app.css`
README File Content
# Travel Destinations

A simple app to keep track of destinations I'd like to visit.
HTML File Content
Add the following content to the index.html file:
<!doctype html>
<html lang="en">
<head>
    <meta charset="utf-8">
    <title>Travels</title>
    <meta name="description" content="">
    <link rel="stylesheet" href="css/app.css">
</head>
<body>

    <div class="container">
        <div class="destination-container">
            <div class="destination" id="florida">
                <h2>Florida</h2>
            </div>

            <div class="destination" id="paris">
                <h2>Paris</h2>
            </div>
        </div>
    </div>

</body>
</html>
CSS File Content
Add the following information to the CSS file:
html {
    box-sizing: border-box;
    height: 100%;
}

*,
*::before,
*::after {
    box-sizing: inherit;
}

body {
    display: flex;
    margin: 0;
    height: 100%;
}

.container {
    margin: auto;
    padding: 1em;
    width: 80%;
}

.destination-container {
    display: flex;
    flex-flow: wrap;
    justify-content: center;
}

.destination {
    background: #03a9f4;
    box-shadow: 0 1px 9px 0 rgba(0, 0, 0, 0.4);
    color: white;
    margin: 0.5em;
    min-height: 200px;
    flex: 0 1 200px;
    display: flex;
    justify-content: center;
    align-items: center;
    text-align: center;
}

h2 {
    margin: 0;
    transform: rotate(-45deg);
    text-shadow: 0 0 5px #01579b;
}

#florida {
    background-color: #03a9f4;
}

#paris {
    background-color: #d32f2f;
}
At this point this is what my project looks like but remember your project can be anything you want you just need to make sure you have a project with some commits in it.
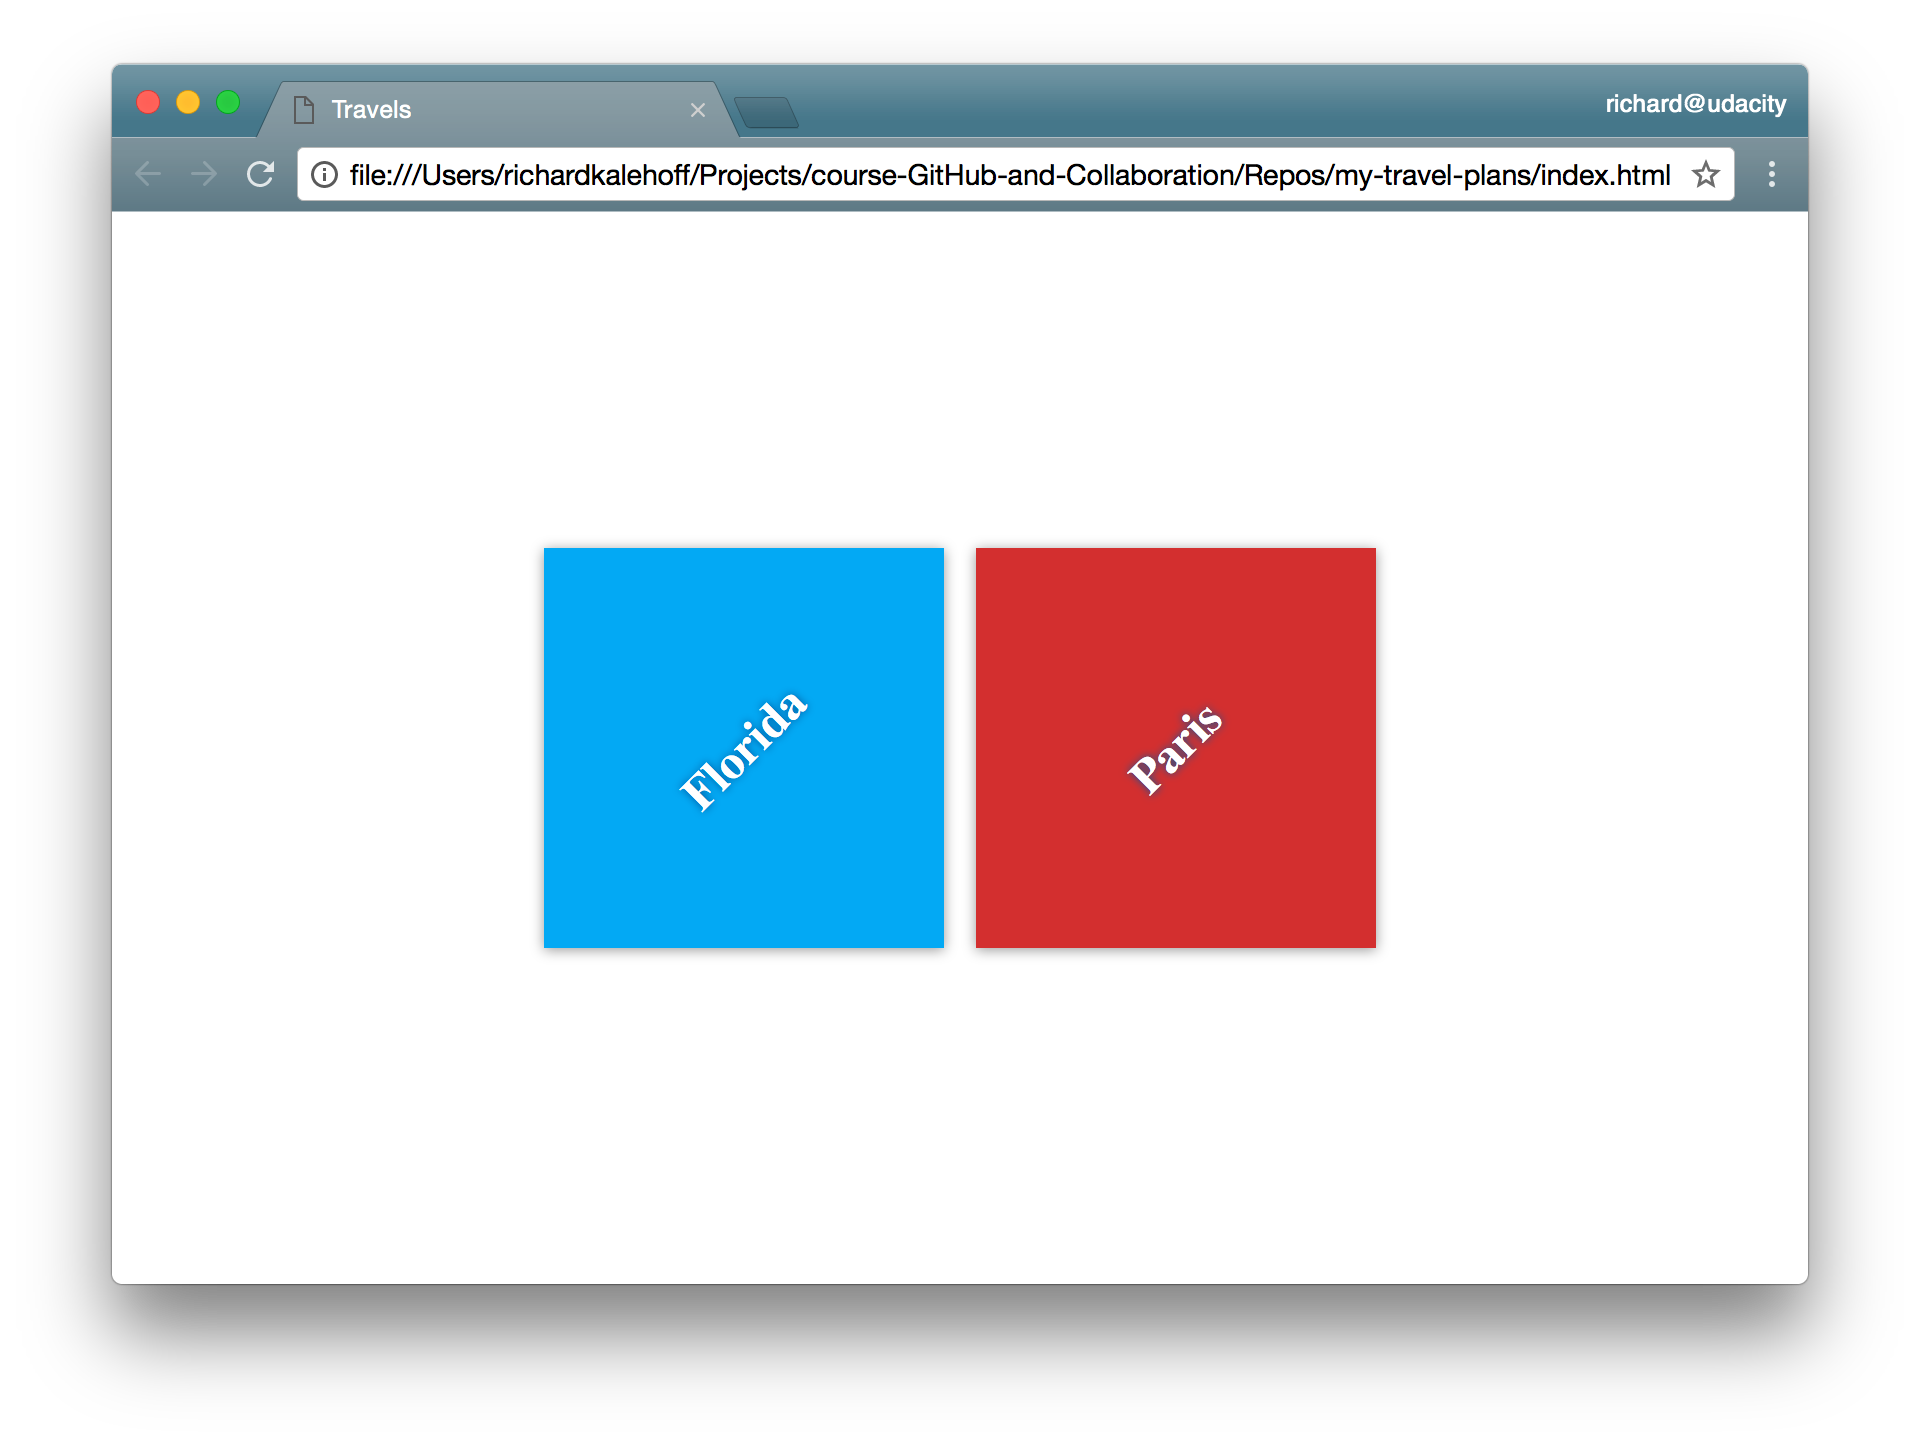
A simple web application that shows the destinations I want to go to (Florida and Paris) opened in the Chrome browser.
SOLUTION:
- I have created a new directory for my project with the name `my-travel-plans`
- I've turned the project into a Git repo
- I've added at least one file to the project
- I've commited the file with git commit (for example, `Initial commit`)
Hosting on GitHub
There are several options for us to host Git projects. But one of the most popular hosting sites is a service called GitHub which you might have heard of before. Now the problem with GitHub is that the name is so similar to Git that people sometimes conflate Git and GitHub and think they're the same thing when they're actually quite different.
- Git is a version control tool
- GitHub is a service to host Git projects
If you are already familiar with GitHub and know how to create a repo without initializing a README, you can skip this video and go ahead and make your repo with the same name as your sample project, and remember not to initialize a readme.
If you don't have an account yet, sign up for one on GitHub's join page. There are different types of GitHub accounts you can sign up for but the free tier is all that we need for this course. And a free account is what most people use anyway. Once you create your account, sign in to GitHub and you'll be on the home page:
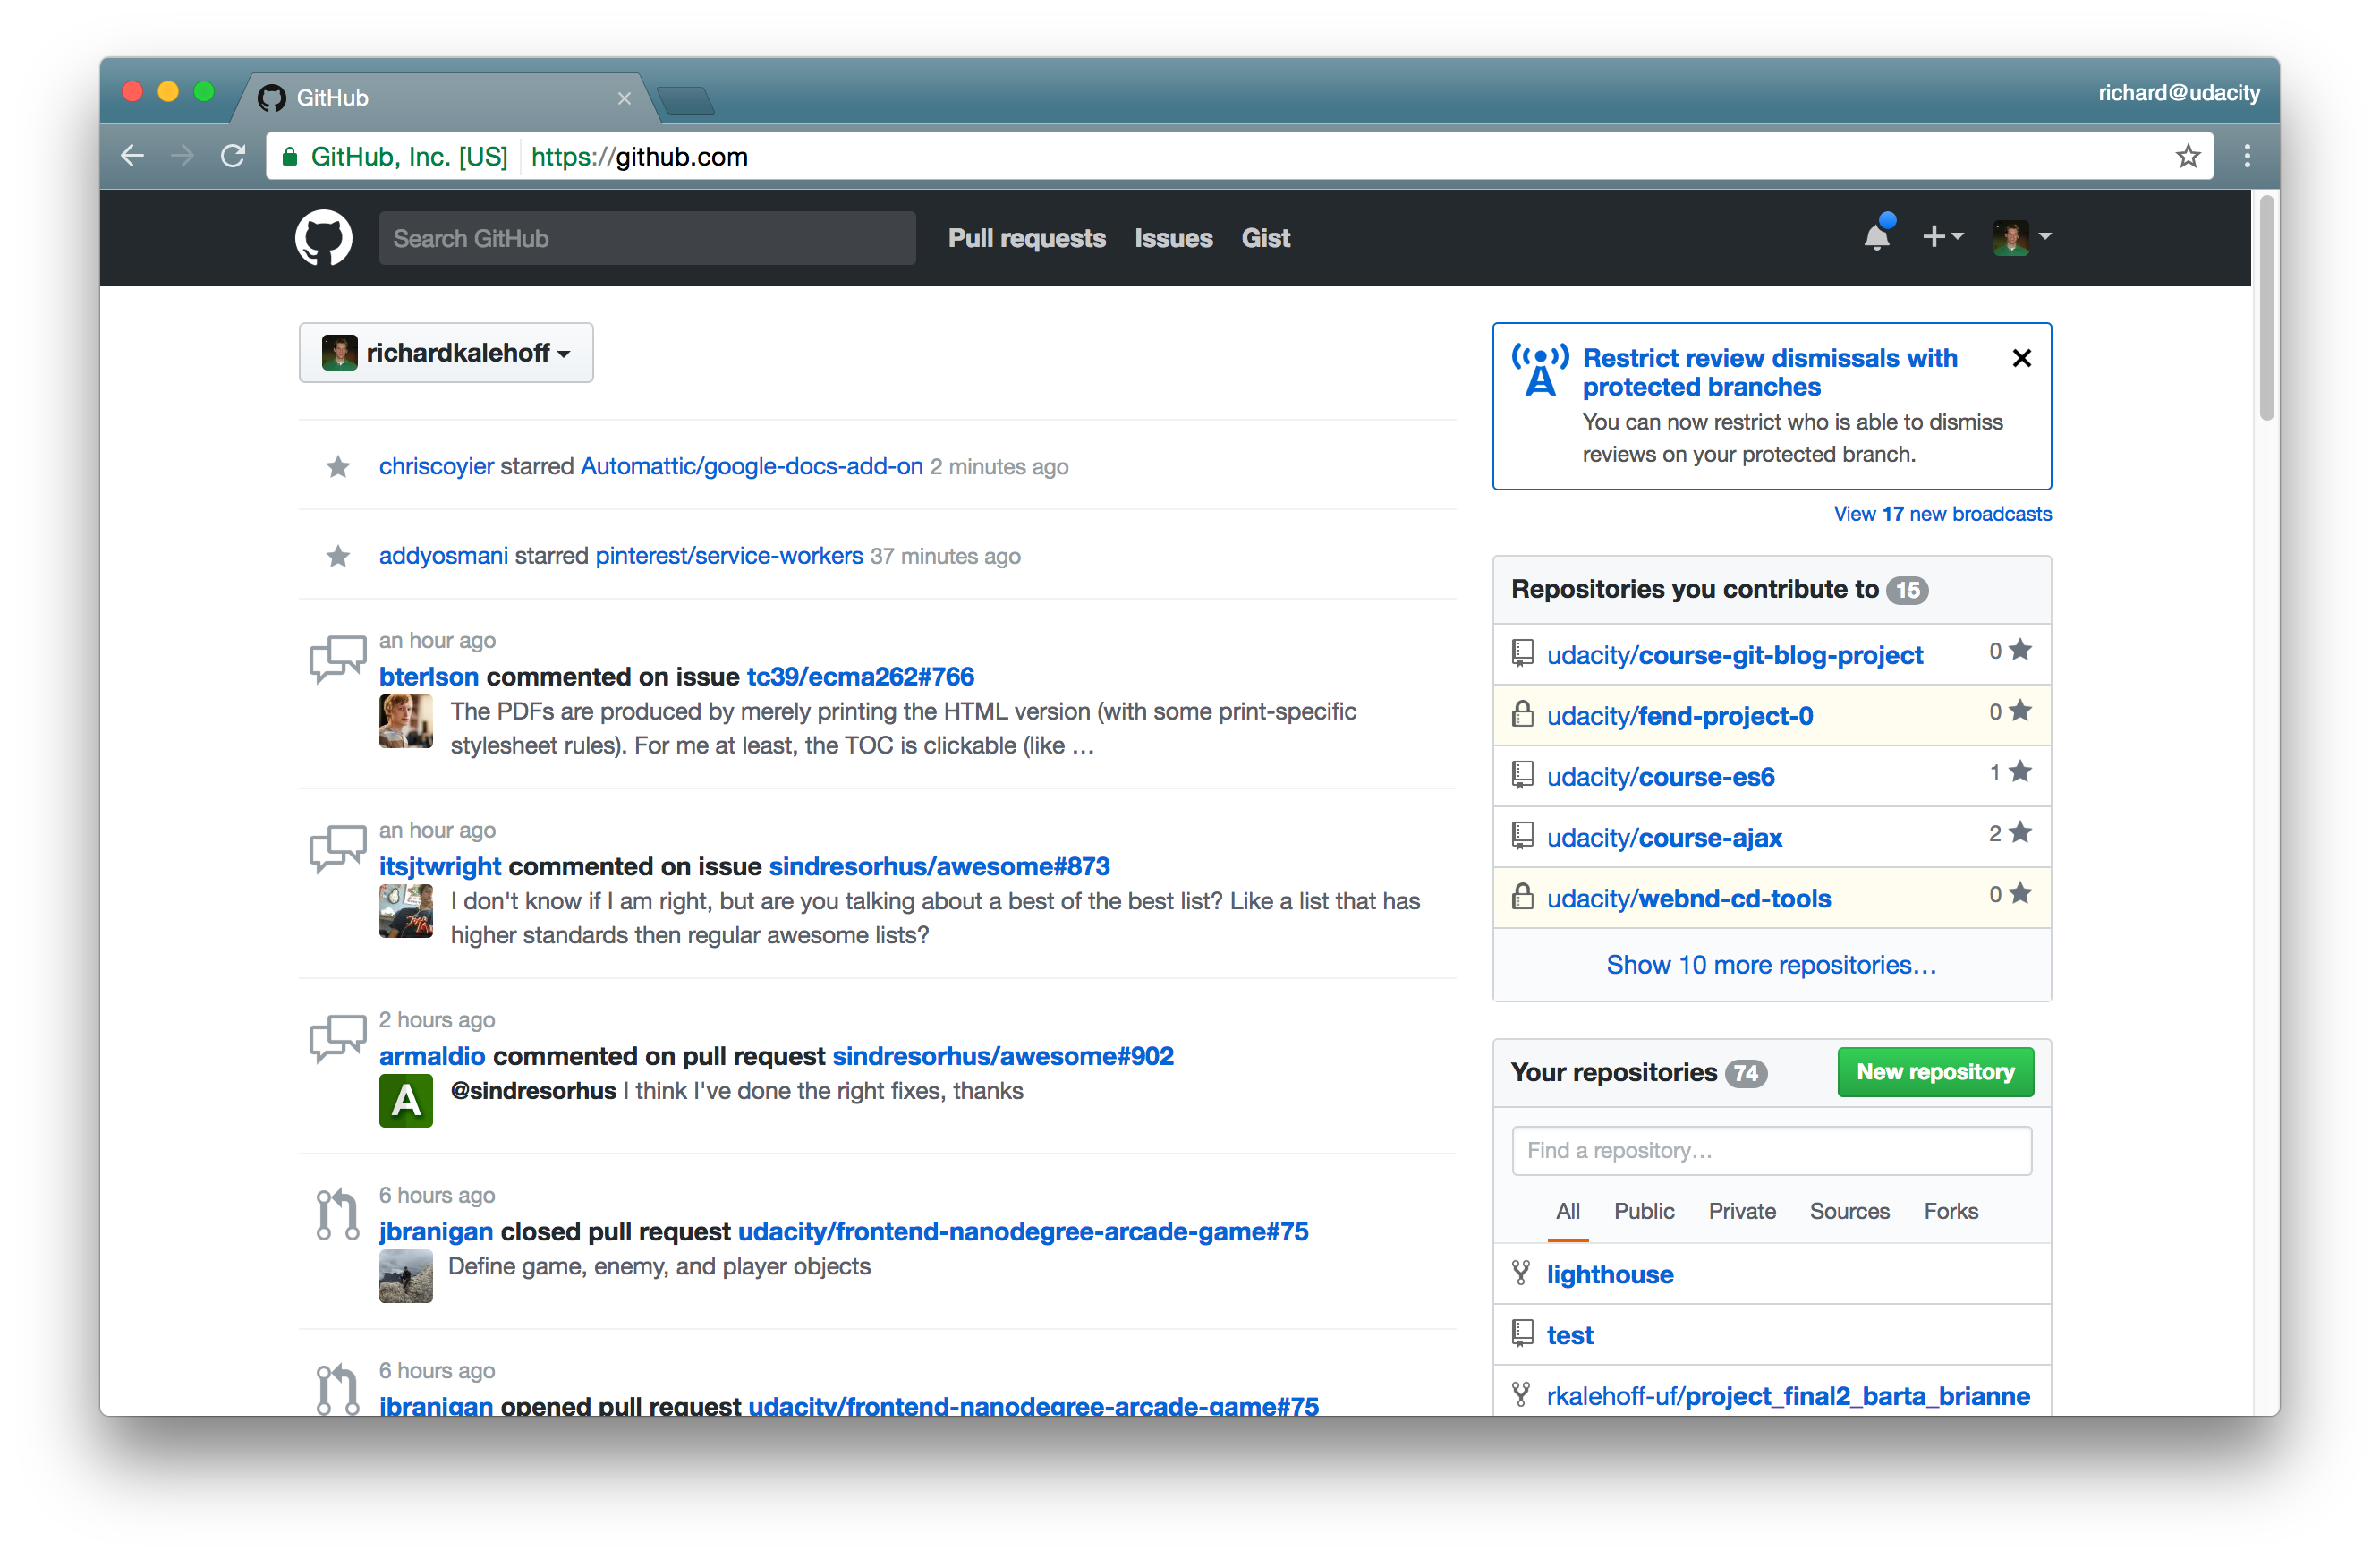
This is what my account shows right after signing in. Your information will be different depending on the number of repositories you have and other users and repositories you follow.
Just like every website, GitHub updates its interface quite often so if what you're seeing doesn't look exactly like the image above don't worry the important features will be the same.
The important thing we need to look at right now is how to create a new Repository. There are actually two ways to do this from the homepage:
- from the navbar
- the green "new repository" button part way down the page on the right side
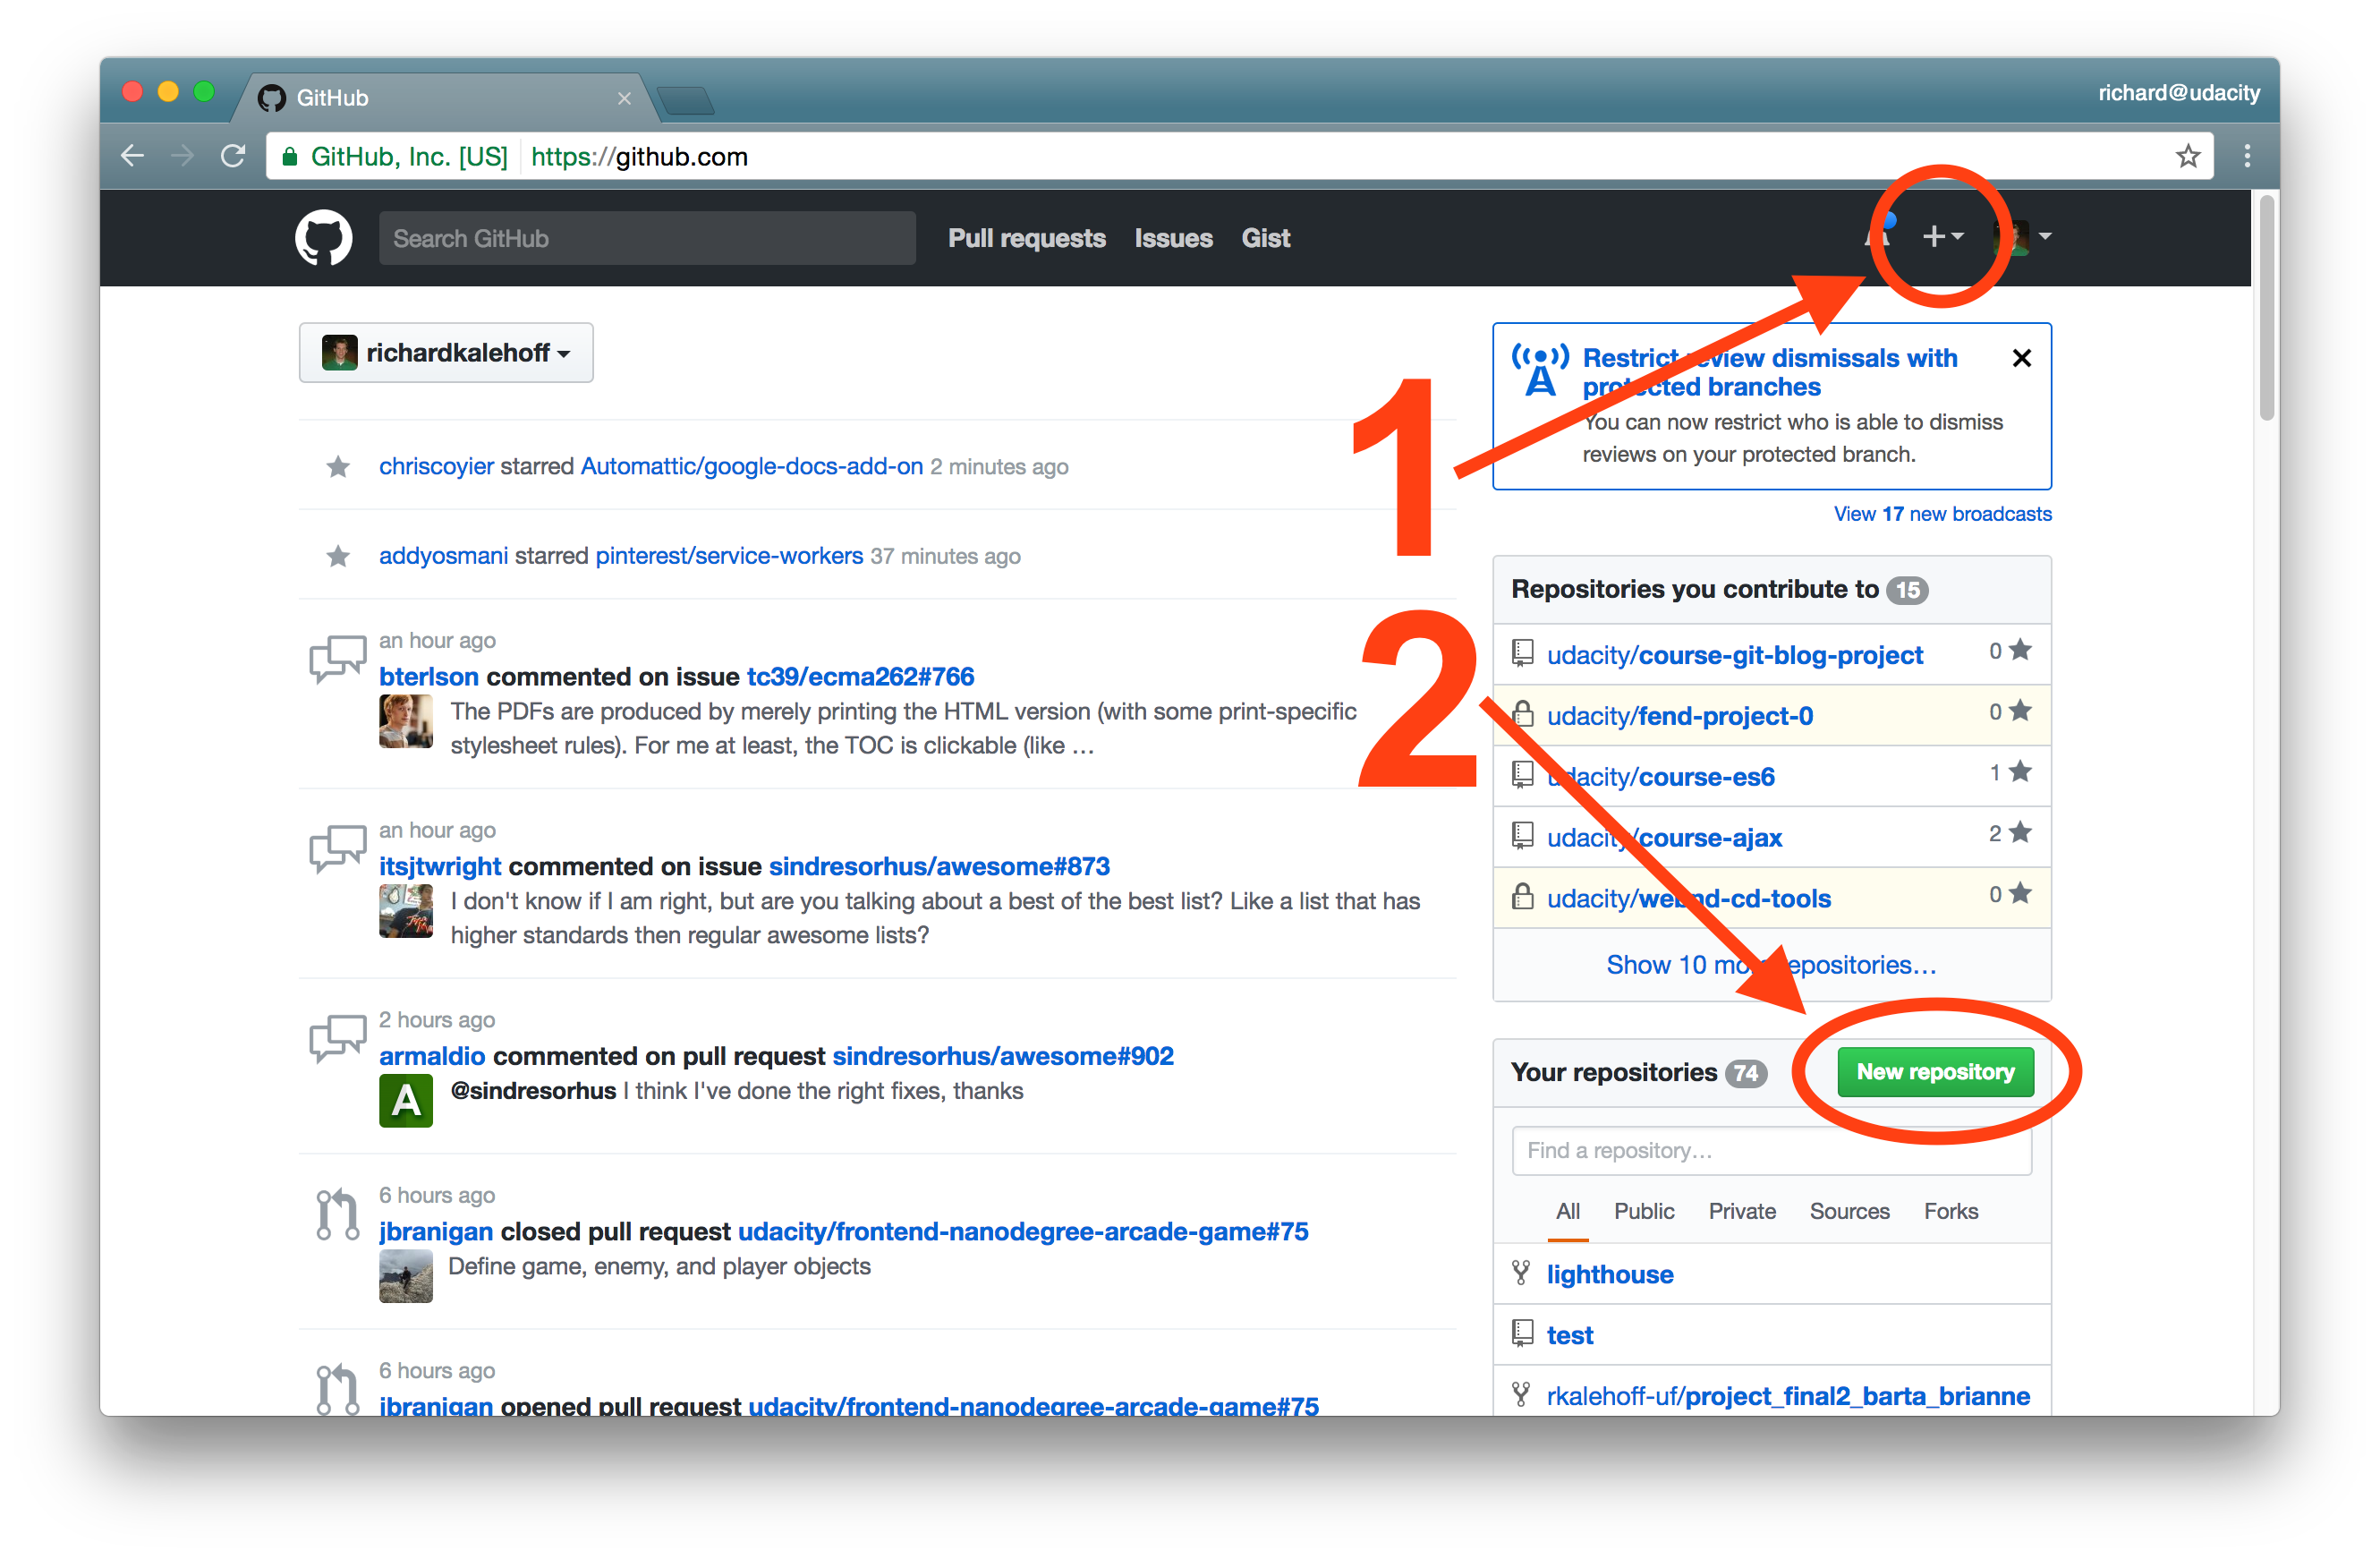
GitHub has two locations where you can create a new repository. The plus icon located in the page's header and the "New Repository" button in the middle of the page.
I use the button in the navigation bar because the navigation bar is available on every single page, which makes it easy to get to the new repo link.
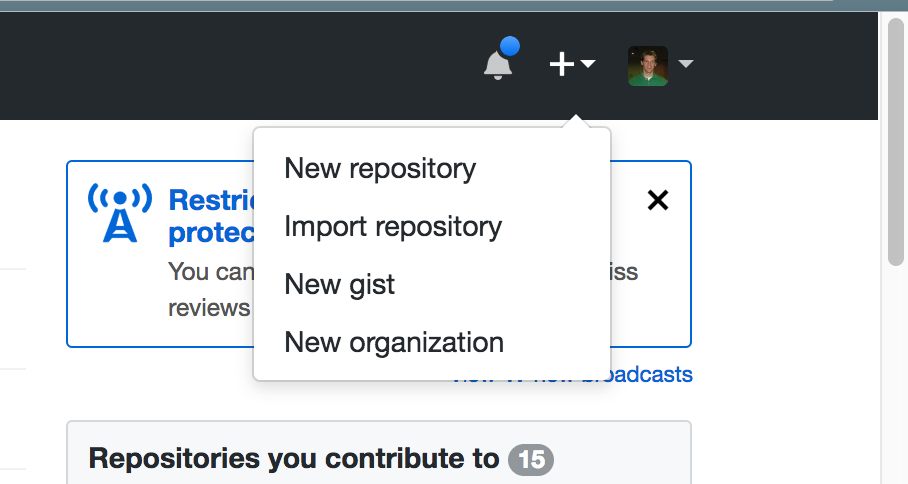
Clicking on the plus icon in GitHub's header displays a dropdown of options. One option is the "New repository" link.
In the dropdown, the New repository link takes you to the repository creation page. We only need to fill out just one field in this form - the repository name field.
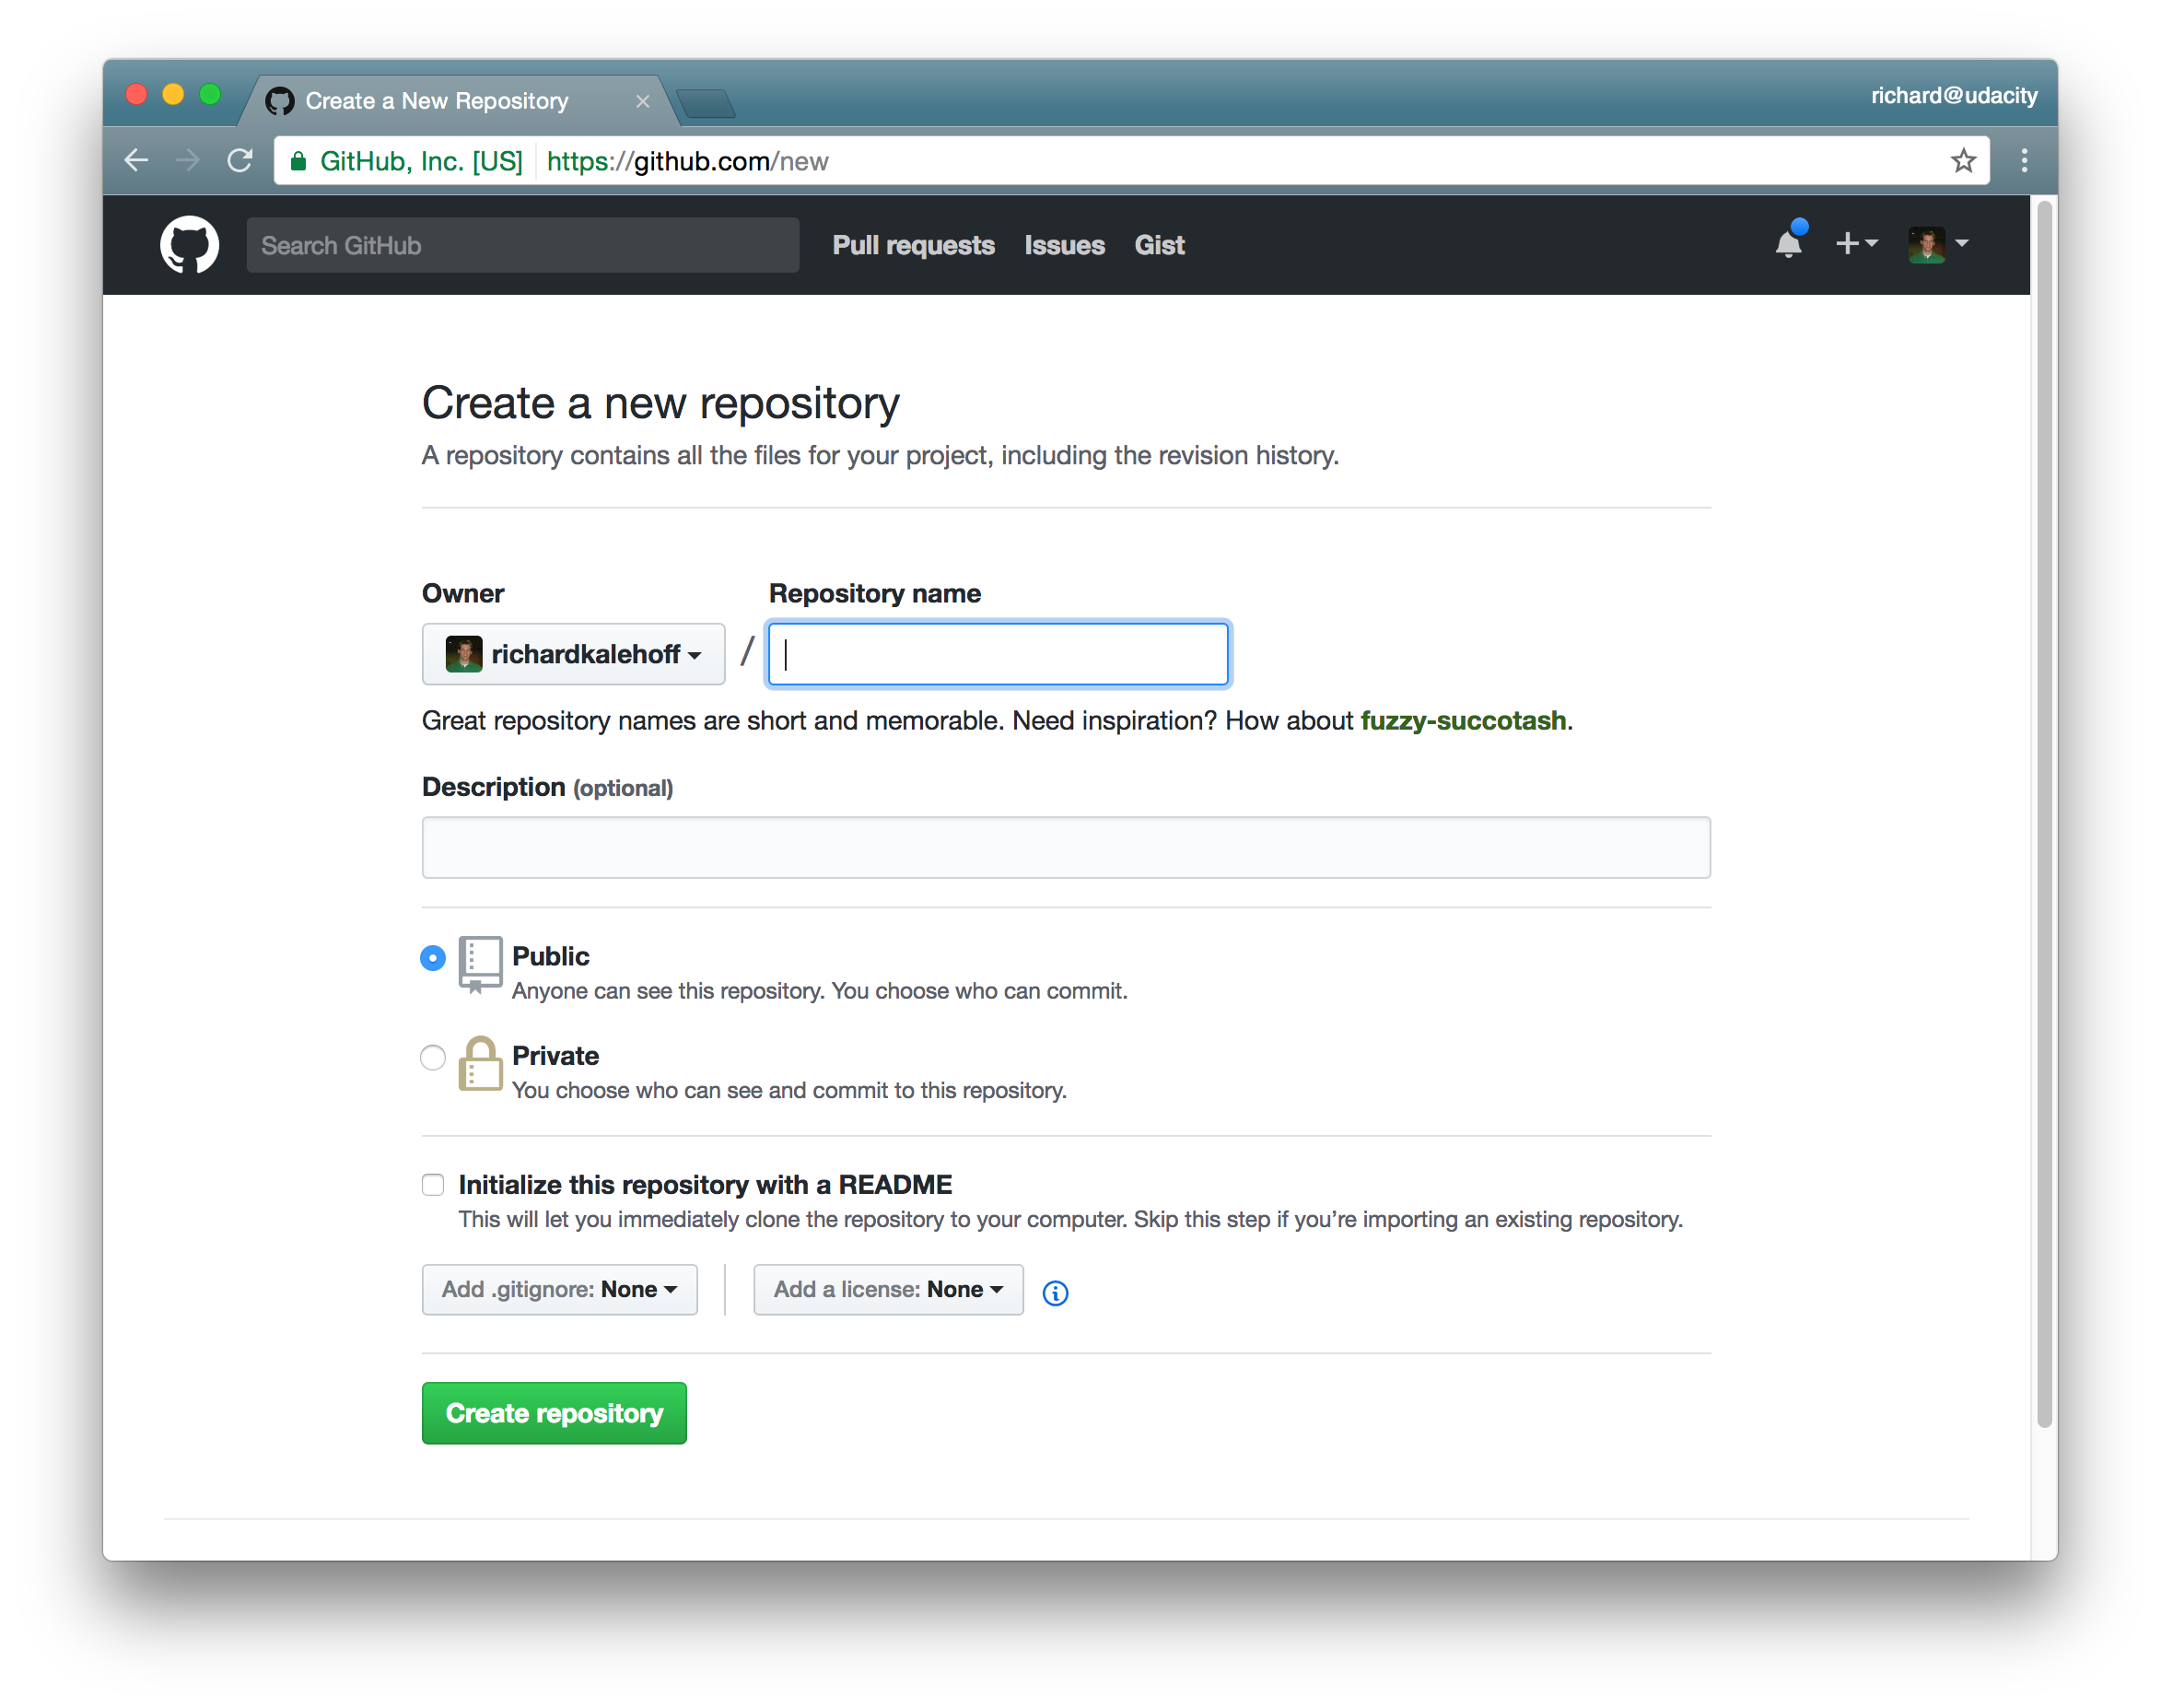
GitHub's Create a new repository page. The only required field is the Repository name field.
Typically you want to use the name of your project as the name of the repository. Creating a repository, modifying it later, or deleting it is relatively easy so don't feel like you have to get the name perfect right here on this page. I'm going to create a repository called "my-travel-plans" that's the same name as the sample project I created.
It's okay to leave the description empty for now (although, you can provide one if you want). Because I'm on the free tier plan, my repository has to be public (which means my repository and all my code will be freely available for anyone to look at). If I want this to be a private repository, then I'd choose "Private" which will cause GitHub to ask for my credit card information and will also upgrade me to a paid plan.
I'm also going to leave the "Initialize this repository with the README" option unchecked because I don't want GitHub to add a README file for me.
⚠️ Don't Initialize with a README ⚠️
Make sure that you leave the "Initialize this repository with the README" unchecked. We'll be providing our own README, so we don't want GitHub to provide one automatically.
Also, if we let GitHub auto-generate a new README file for us, then we won't be provided with the setup commands to run in the terminal. It's still possible to get that information, but it will be hidden away.
So just make sure to leave this field unchecked, and you'll be good to go!
Now just click that big "Create Repository" button to create your remote repository!
L1 - New Repo Git Commands On GitHub
Remember that the git remote command is used to create and manage remote repositories. So I'll use the following command to create a connection from my local repository to the remote repository I just created on my GitHub account:
$ git remote add origin https://github.com/richardkalehoff/RichardsFantasticProject.git⚠️ Remotes & Permissions ⚠️
Warning: It's important that you use the URL for the new repository that you created on your GitHub profile. Do not use the one above because that's for the project I just created on my account. Because this project is on my account you do not have access to send changes to it.
So make sure you use the URL from your project.
The friends Kagure, Jack, Owen, and Finn each have their own my-travel-plans project at:
SOLUTION:
Owen'sSOLUTION:
NoThere are a couple of things to notice about the command you just ran on the command line:
- first, this command has the sub command
add
the word
originis used - this is setting the shortname that we discussed earlier- Remember that the word
originhere isn't special in any way. - If you want to change this to
repo-on-GitHub, then (before running the command) just change the word "origin" to "repo-on-GitHub":
$ git remote add repo-on-GitHub https://github.com/richardkalehoff/RichardsFantasticProject.git- Remember that the word
third, the full path to the repository is added (i.e. the URL to the remote repository on the web)
Now I'll use git remote -v to verify that I've added the remote repository correctly:
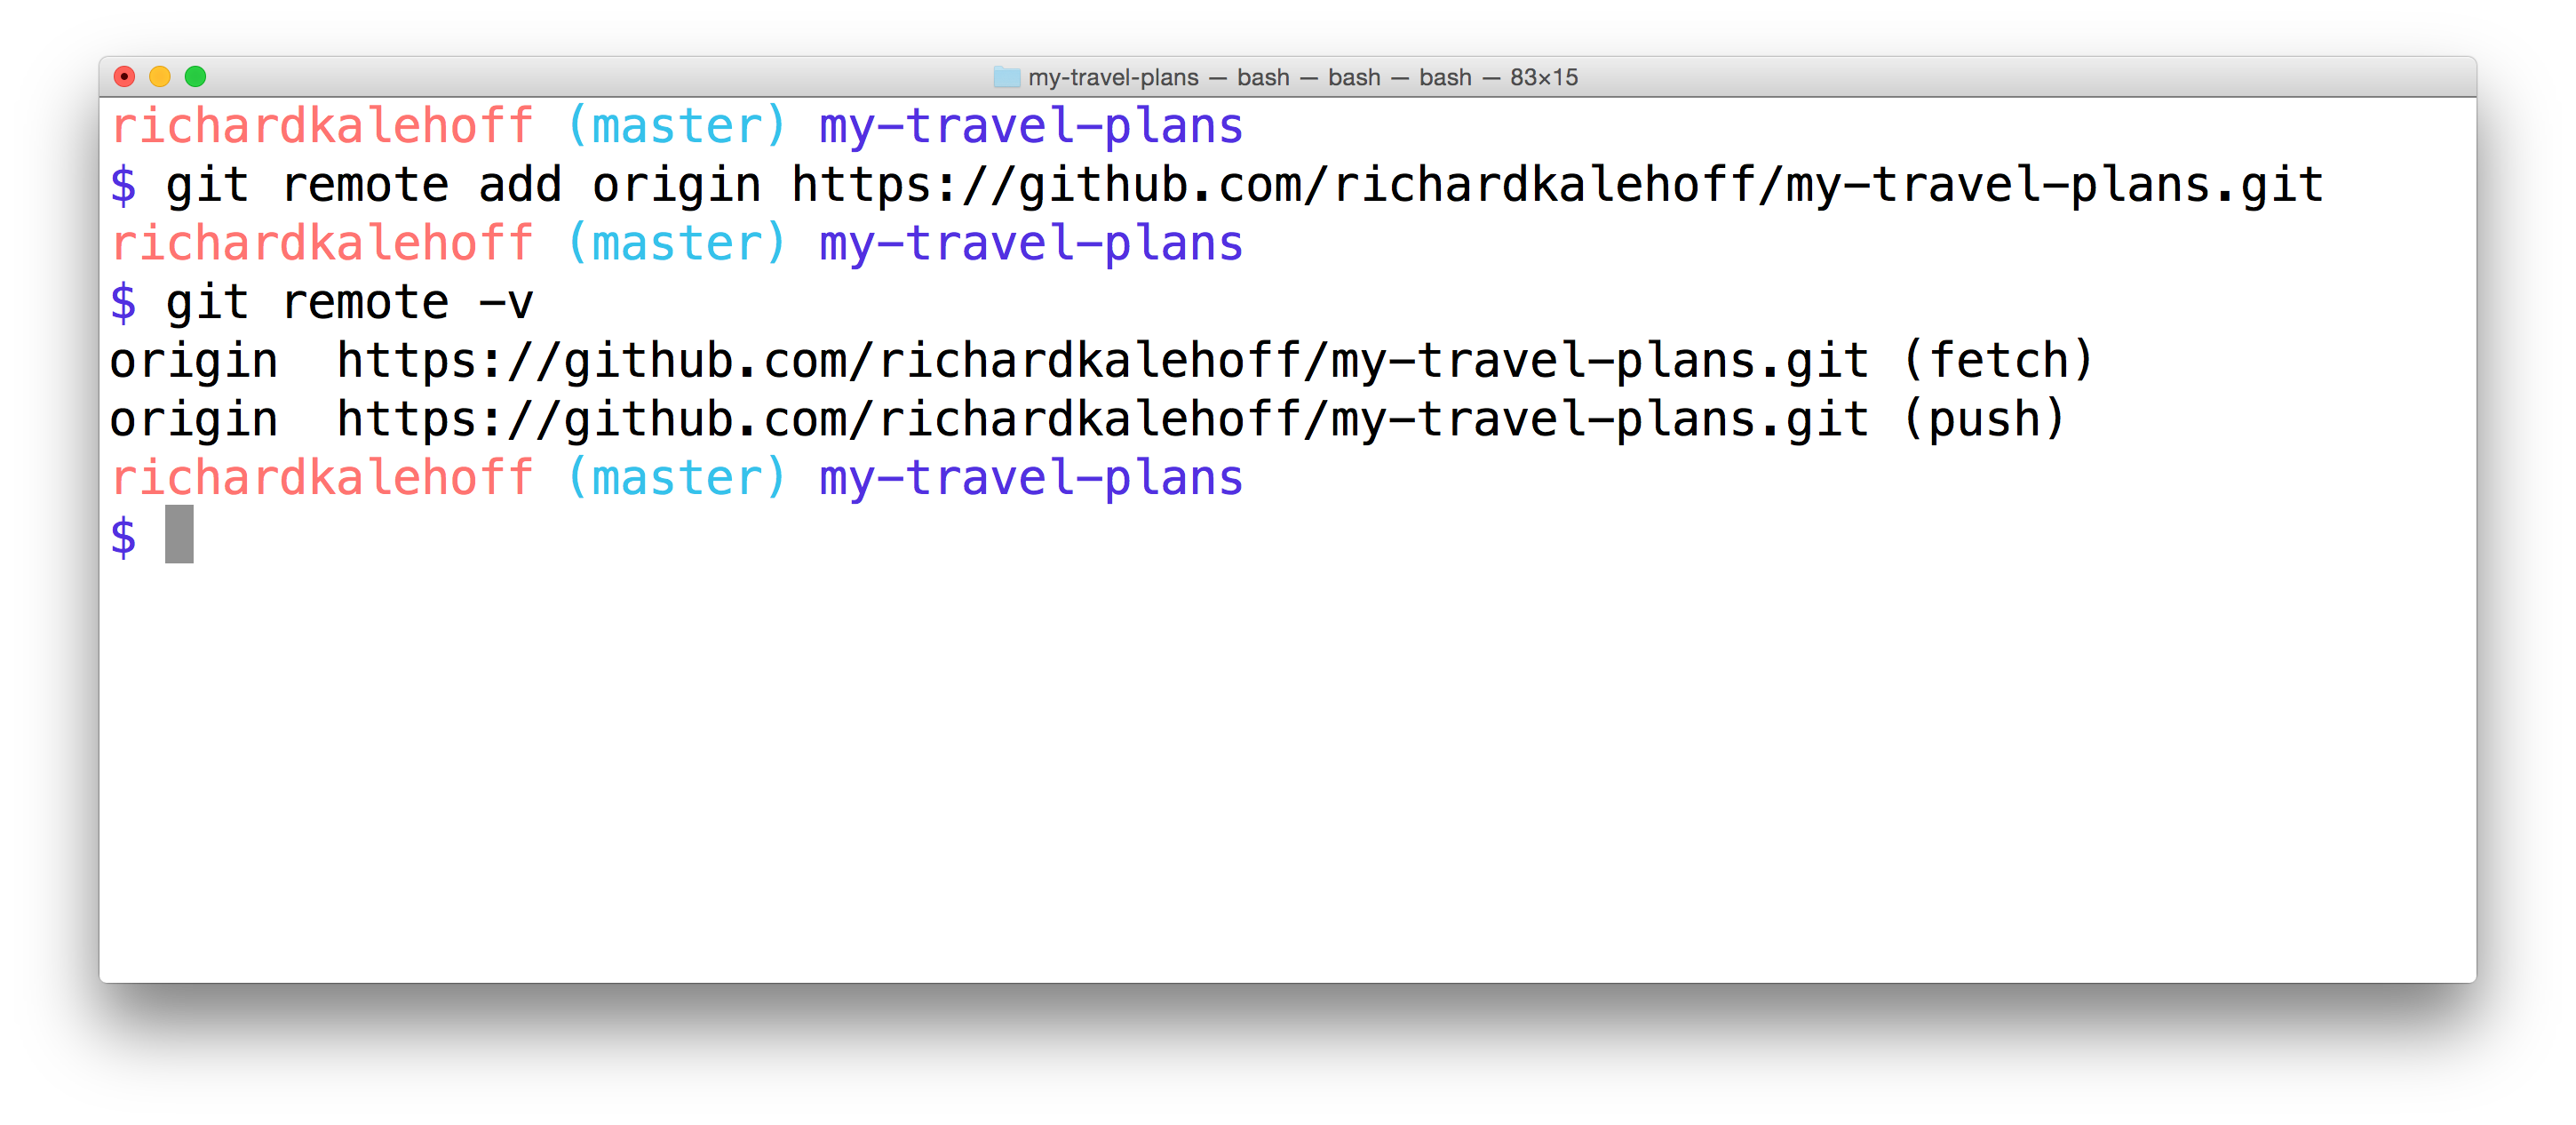
git remote add was used to create a shortname of origin that points to the project on GitHub. Running git remote -v displays both the shortname and the URL.
Fantastic! Everything is looking good. I've added a link to my remote repository with the git remote add command, and then I verified that everything looks correct with git remote -v.
SOLUTION:
- I have created my remote repository on GitHub
- I've used `git remote add` to create a connection from my local repository to the remote repository
- I've used `git remote -v` to verify that the shortname is there with the correct URL
Recap
A remote repository is a repository that's just like the one you're using but it's just stored at a different location. To manage a remote repository, use the git remote command:
$ git remote- It's possible to have links to multiple different remote repositories.
- A shortname is the name that's used to refer to a remote repository's location. Typically the location is a URL, but it could be a file path on the same computer.
git remote addis used to add a connection to a new remote repository.git remote -vis used to see the details about a connection to a remote.
Further Research
- Working with Remotes from the Git book
- the
git remotecommand from the Git docs